How to Send Messages
Updated At: 2026-02-12
- You can send messages in the desired format, such as in-house announcements, attendance notifications, and overtime notifications to employees.
- You can use Shiftee's data to write messages and send them to multiple employees at once.
📢 Note
Please note that message feature is not available during the free trial for security reasons.
Web
After enabling the message feature, you'll see an activated message menu on the left.
The [Messages] menu shows your message history.
In the [Message Template] menu, you can create message forms.
First, create a message template for sending messages in the [Message Template] menu.

1. Create a Message Template
Enter your message template's title and content, then click ‘Add’ button.
You can freely create a message template in the desired format. Please refer to the example below.
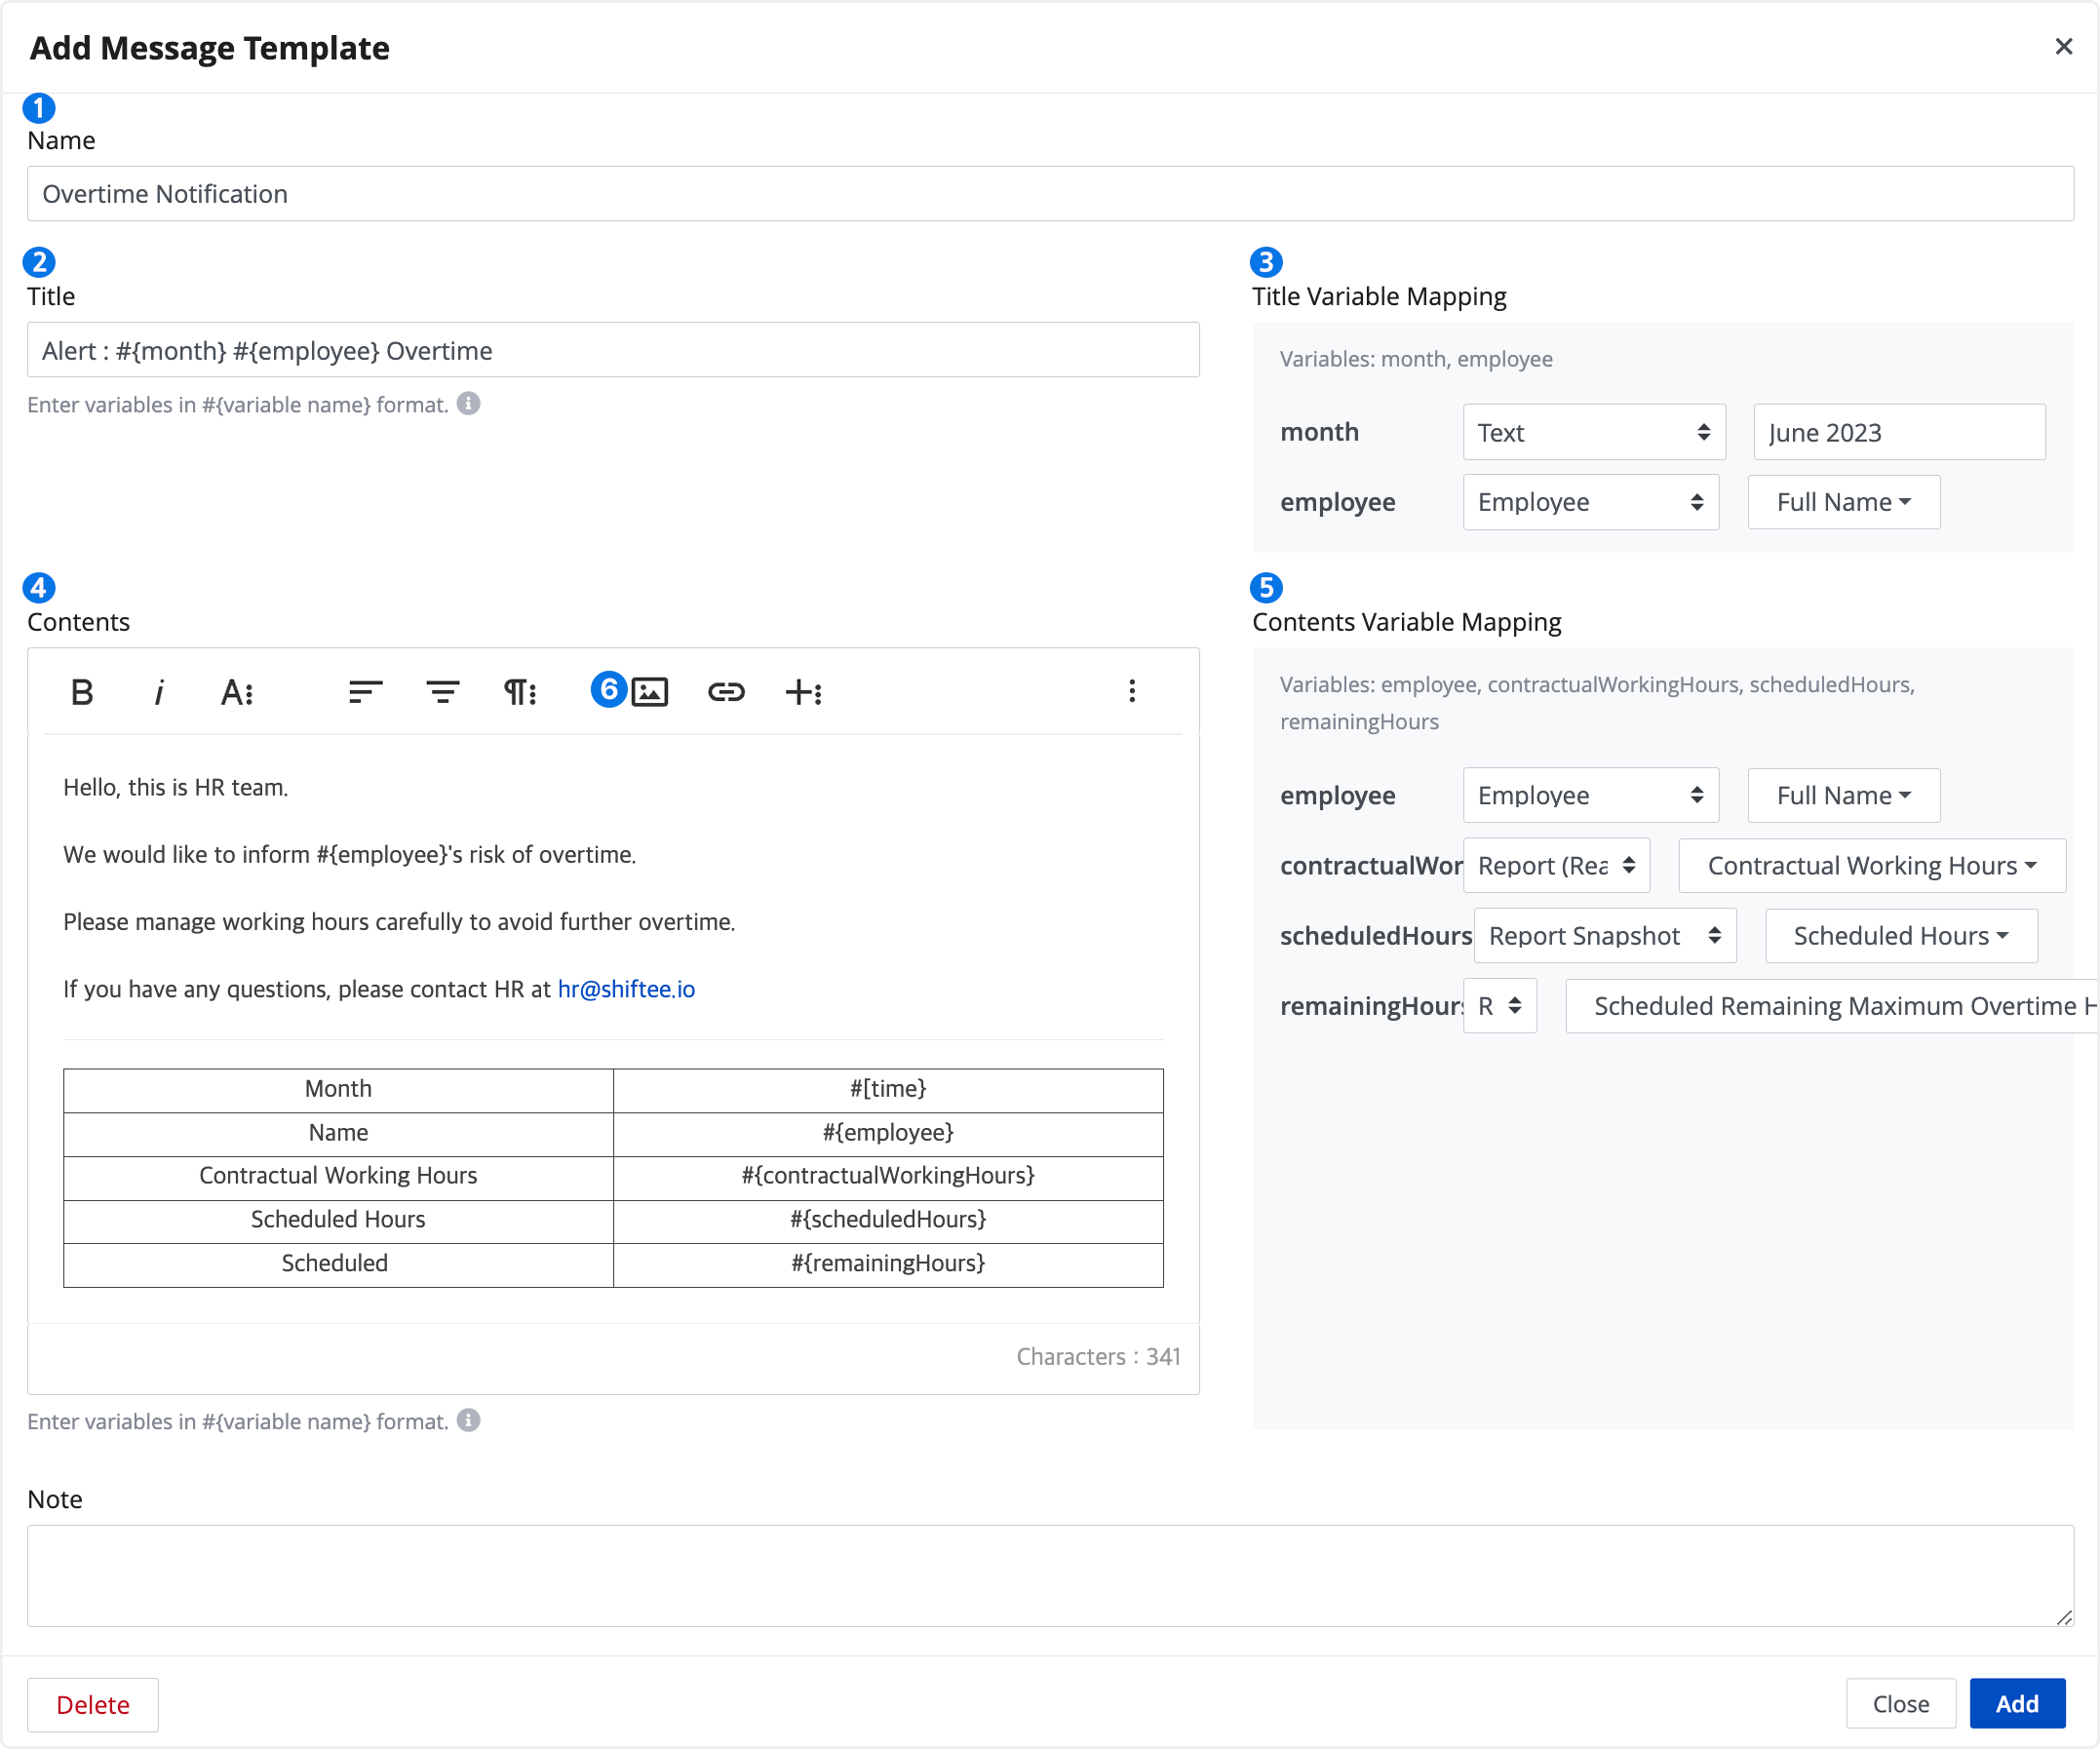
① Name : Enter the name of the template
② Title : Enter the message title. You can write a title by referring to the description below.
Set parts of the message template that need to reflect each recipient's data as 'variables'.
You can enter text directly into the 'variable' in #{ } or set the data value you want to retrieve from Shiftee.
The selected data is automatically reflected when sending a message.

For example, if you set up variables like the image above, it will be reflected as follows.

e.g.) #{MonthYear} #{Employee} Overtime Work Notification
→ January 2022 Kim Overtime Work Notificaiton
③ Title Variable Mapping : Choose which data item to retrieve for variables in your title. The selected data ia automatically inserted according to the recipient.
④ Contents : Write your message in the desired format, using ‘variables’ to insert recipient-specific data.
⑤ Contents Variable Mapping : Set variable items in your message. The selected data is automatically inserted according to the recipient.
⑥ Insert Images : You can insert images using image links. Use this option when you need to insert images such as company seals, company logos, or banners into a message template. For detailed instructions, please refer to Example of Use ) Insert Images below.
📢 Note
• Report Snapshot : When sending a message, you can automatically reflect the data from the selected report snapshot.
Example of Use ) Insert Images
You can insert required images—such as a company seal, logo, or banner—into a message template.
Add images at the desired location using an image URL.
💡 Note
Please ensure that the image is uploaded to Google Drive, an image hosting service, or another platform
where external sharing and public access are enabled before inserting it into the editor.
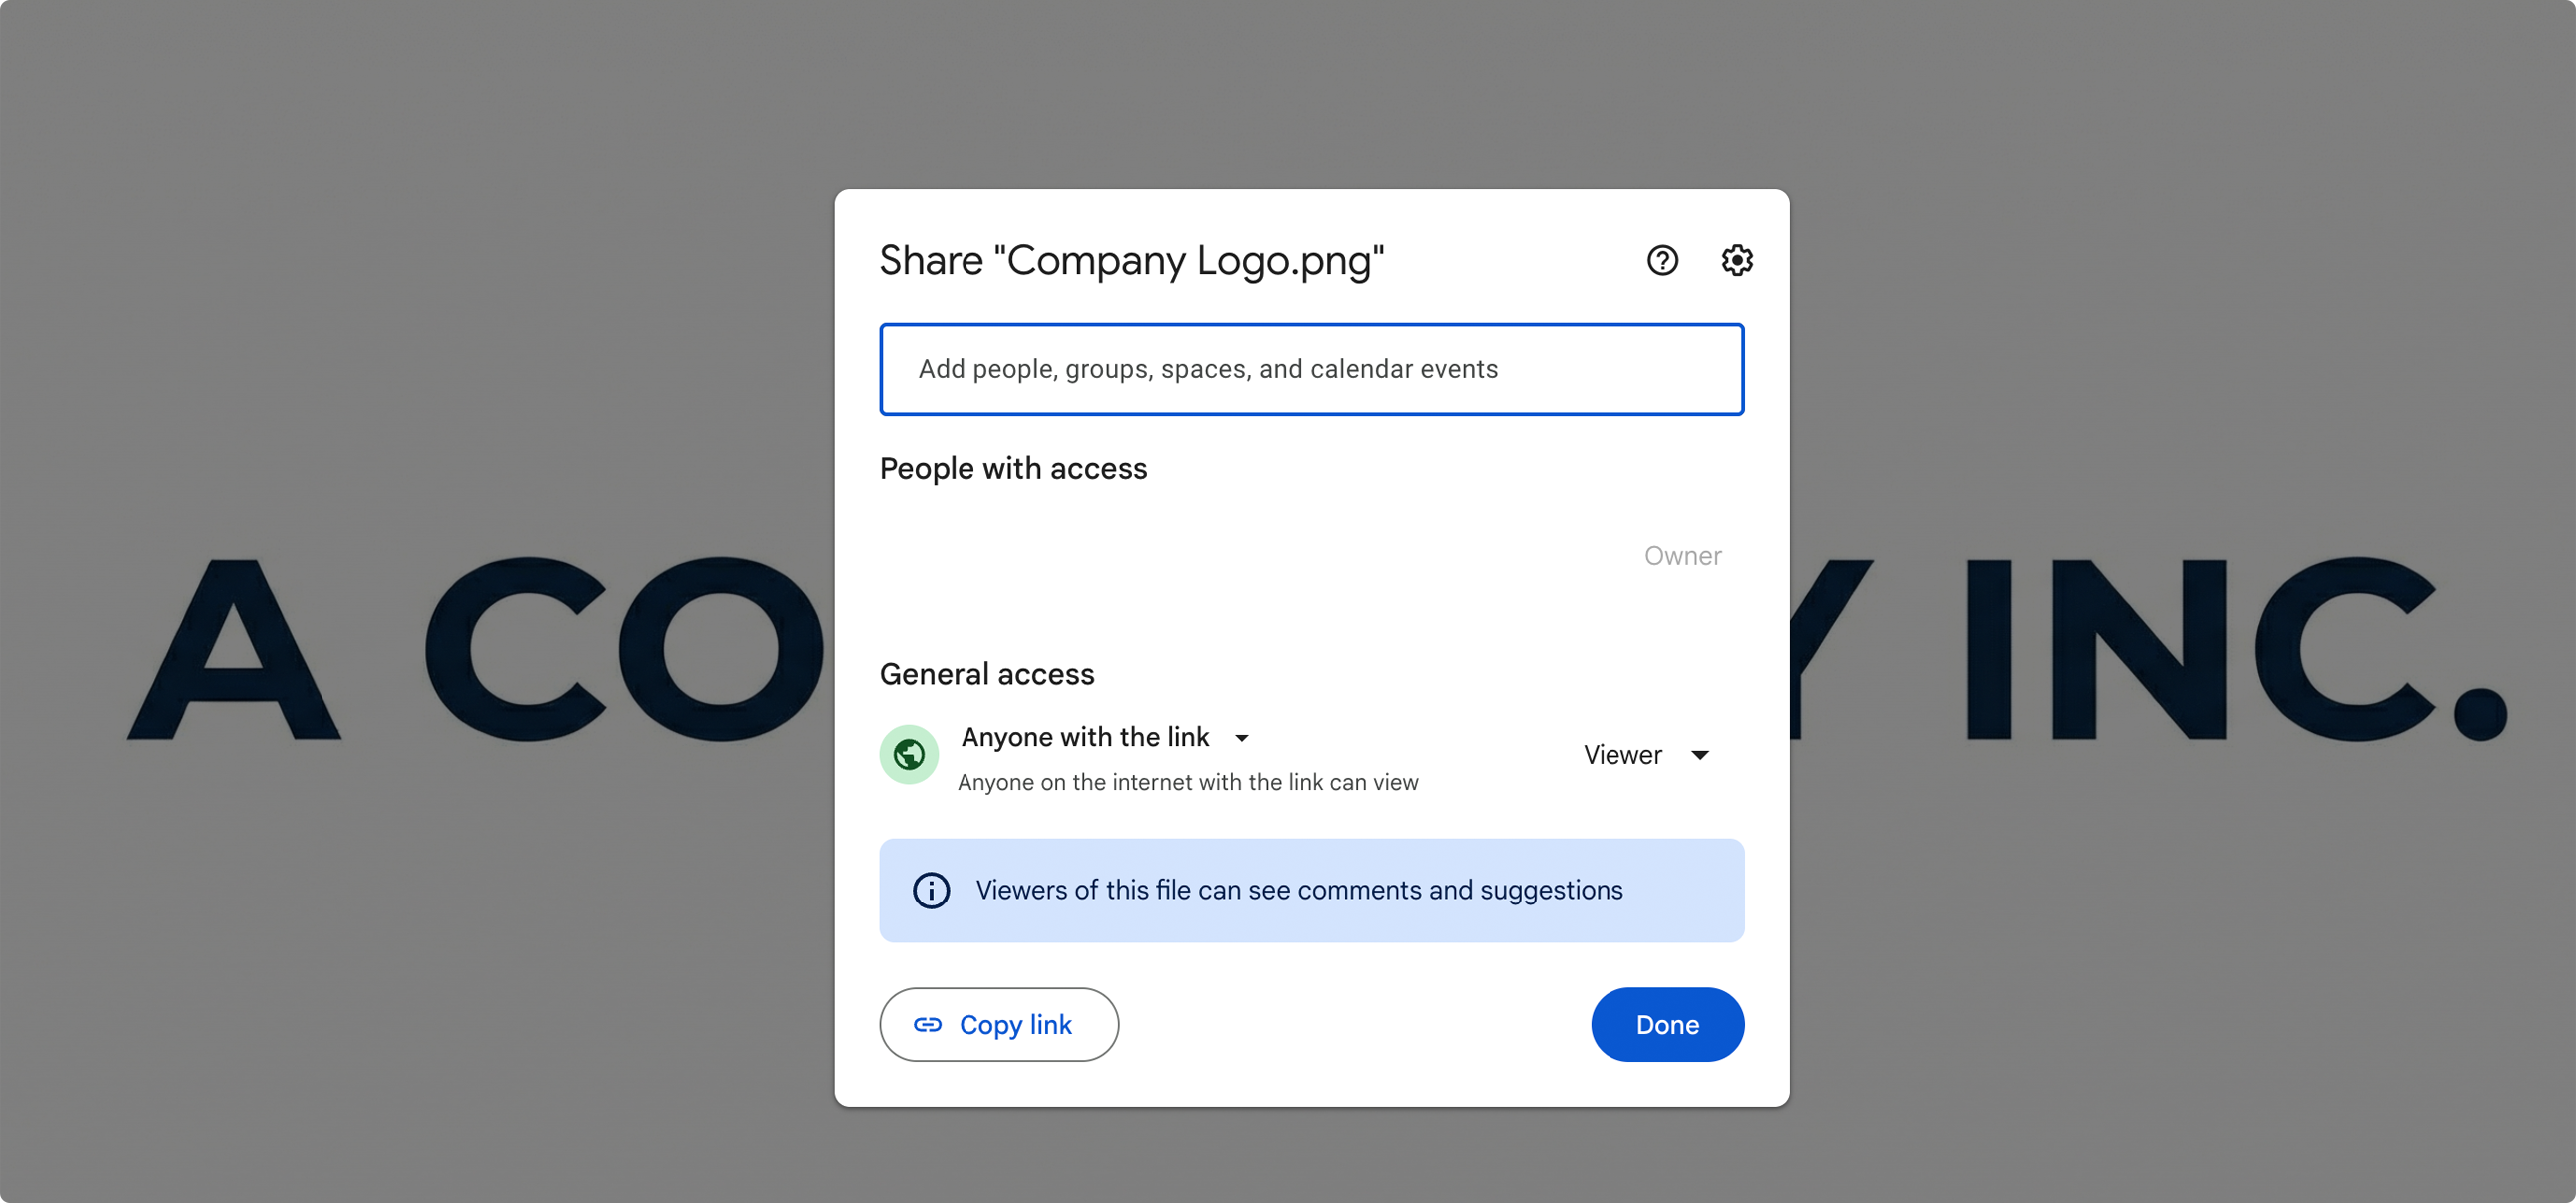
Example ① Using an Image from Google Drive
1) After uploading the image, change the sharing settings to ‘Anyone with the link’ and ensure that external access is enabled.
2) Click ‘Copy link’ to copy the image URL.
3) From the copied URL, extract and copy only the portion highlighted in bold (the Image ID)
https://drive.google.com/file/d/Image ID/view?usp=sharing
4) To ensure the editor can recognize the image, append the copied Image ID to the URL format below to create the final link. https://drive.google.com/thumbnail?id=Image ID
💡 Example
① Check the original Google Drive link
https://drive.google.com/file/d/1NexXOnXMw0ghHMhPT60U_1XWAFqIkiwh/view?usp=sharing
② Copy only the Image ID from the URL
1NexXOnXMw0ghHMhPT60U_1XWAFqIkiwh
③ Append the copied Image ID to the editor-compatible URL format
https://drive.google.com/thumbnail?id=1NexXOnXMw0ghHMhPT60U_1XWAFqIkiwh
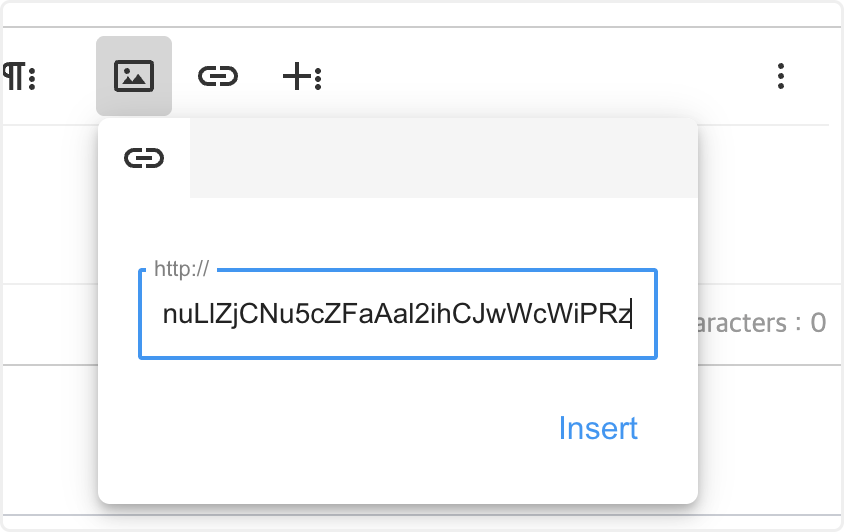
5) Click the image icon, paste the completed URL, and click “Insert” to add the image.
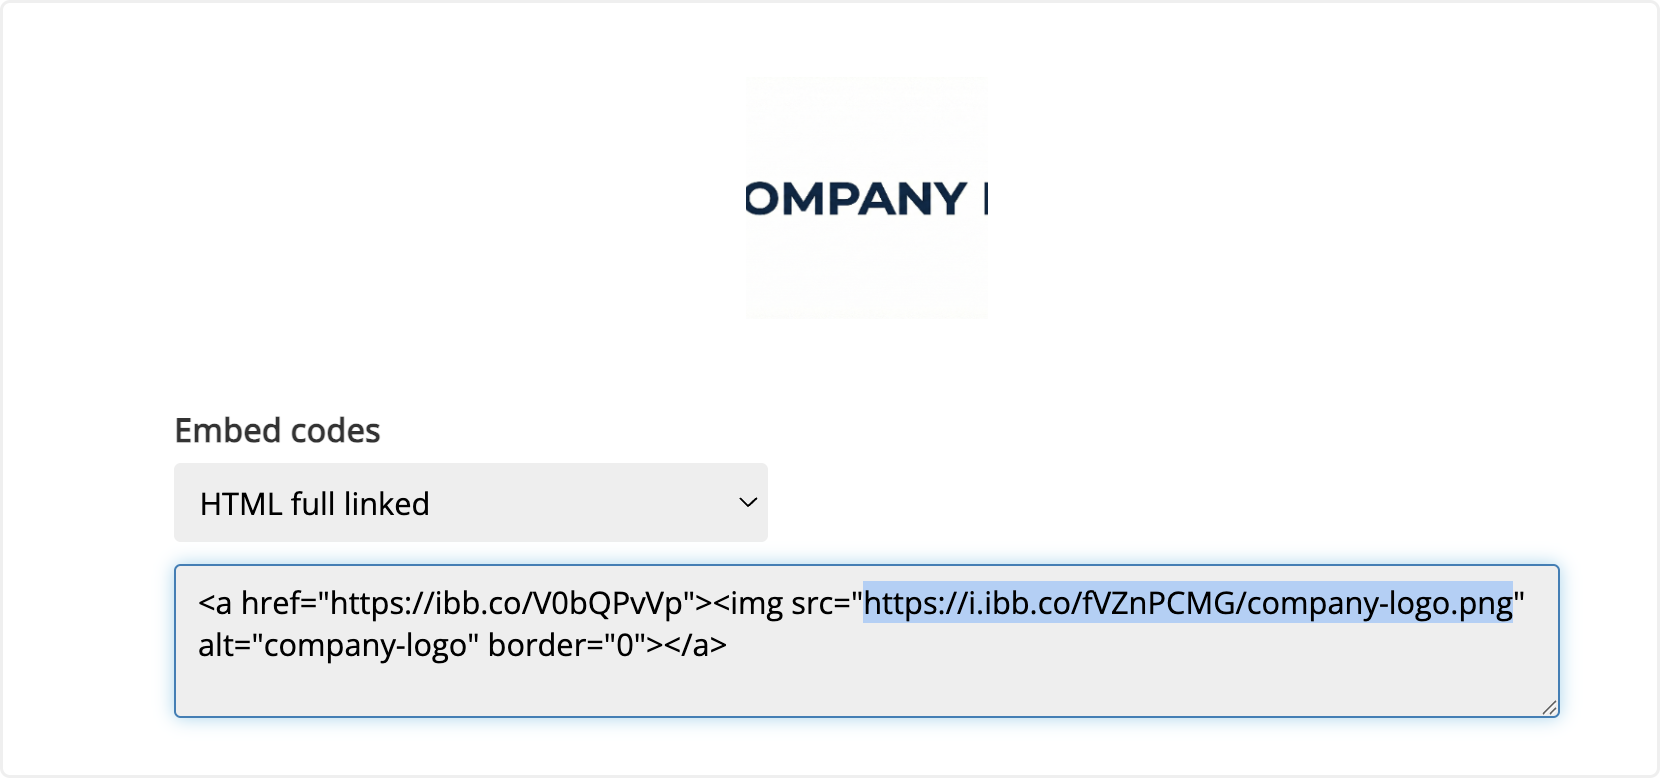
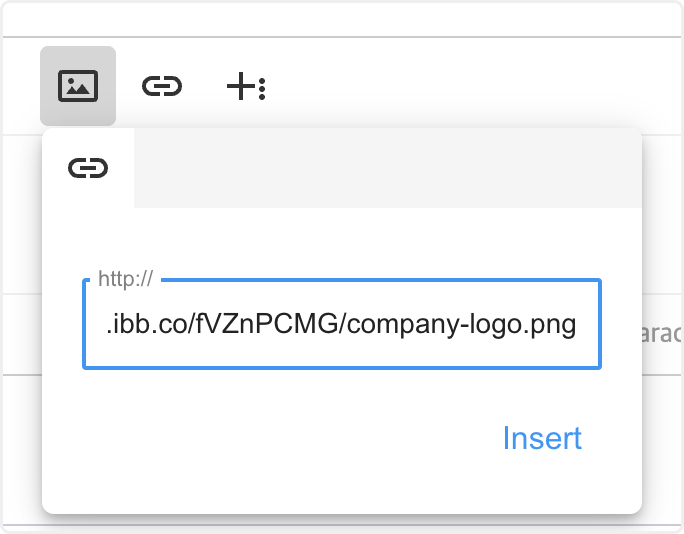
Example ② Using an Image Hosting Service
1) Upload the image via an image hosting service and review the provided HTML URL.
2) From the HTML URL, copy only the URL inside the quotation marks (" “) within the img src=” " attribute, as shown below.
3) Click ‘Image icon > Paste the copied URL > Insert’ to add the image.
After inserting the image, you can adjust its size and position using the image editor.
💡 Note
To place an image next to text, select display > inline in the image editor.
The inline option aligns the image on the same line as the text. 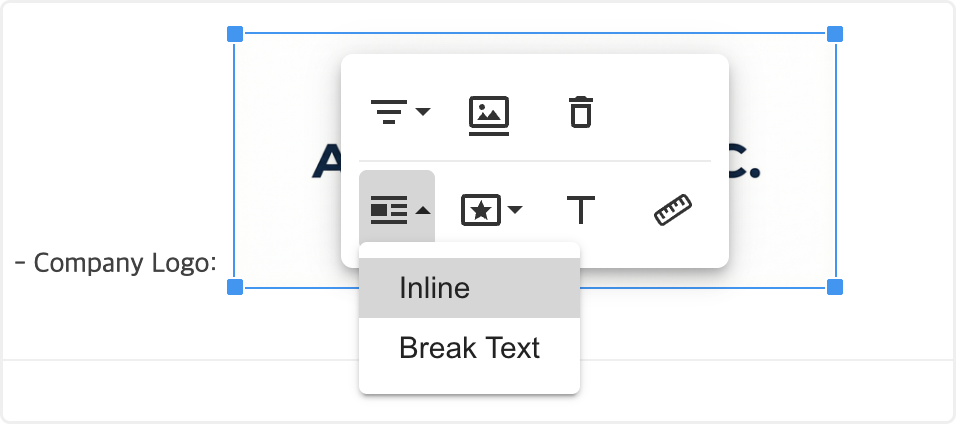
2. Send a Message Using Your Template
Go to [Messages] menu and click + Send Messages button.

Step 1. Configure Message

① Name : Enter the message name.
② Template : Select the template to send the message.
③ Report Period : Select the period to view.
- Report Snapshot(Optional) : According to the message template set above, a report snapshot selection field will appear. Choose which report snapshot item to use.
④ Employees to Send : Select the message recipient. You can individually select recipients or choose a specific target.
📢 Note
Use the advanced filter to search for employees in the list.
Learn more from Advanced Employee Filter.

⑤ Email Notification : When sending a message, the recipients can recieve a notification by email.
⑥ Variable Mapping : Choose Which data to retrieve for each item. The variable mapping value set in your template is automatically applied.
📢 Note
If the data for the variable is incorrect, an error will occur before proceeding to the next step.
Make sure the 'variable' item exists in your selected data.

Step 2. Preview
Click Preview button to check if your message's data is correct. Click the message icon below preview to review your message.

Once checked, click Send Messages button to send your message.
📢 Note
If you need to make changes, click Download Excel button to edit your data and upload the file to apply your changes.

3. View Your Message History
Go to [Message] menu to see your sent messages.
You can view each message's recipients, content, read status, and notes.

Receiving Messages
Recipients will receive notifications on their mobile app when they receive a message.
You can view messages on both the web staff mode and mobile app.
Web Staff Mode > Message Tab
STEP 1 ) Go to the Messages tab and click on a message to view it.
After reading, click OK to mark it as read. You can also leave a note.

STEP 2 ) The confirmation time is recorded and the message status will be changed to ‘Read’. 
Mobile App > Message Icon
You'll receive a notification on your mobile app when you receive a message.
Click on the message icon in the upper right corner to view messages.
